How to Inspect and Seal Gaps in Your Cabin to Prevent Heat Loss
Gaps and cracks in a wooden cabin can let warm air escape in winter and cool air escape in summer, leading to higher energy bills and reduced comfort. Regularly inspecting and sealing these gaps helps maintain a cozy indoor environment and improves energy efficiency. Here’s a step-by-step guide to keep your cabin airtight.
Step 1: Inspect common gap areas Check around windows, doors, baseboards, and where walls meet the roof or floor. Look for drafts by feeling for cold air with your hand or using a smoke pen to detect airflow. Tip: Pay special attention to corners and joints where logs or panels meet, as these areas are prone to shrinkage over time.
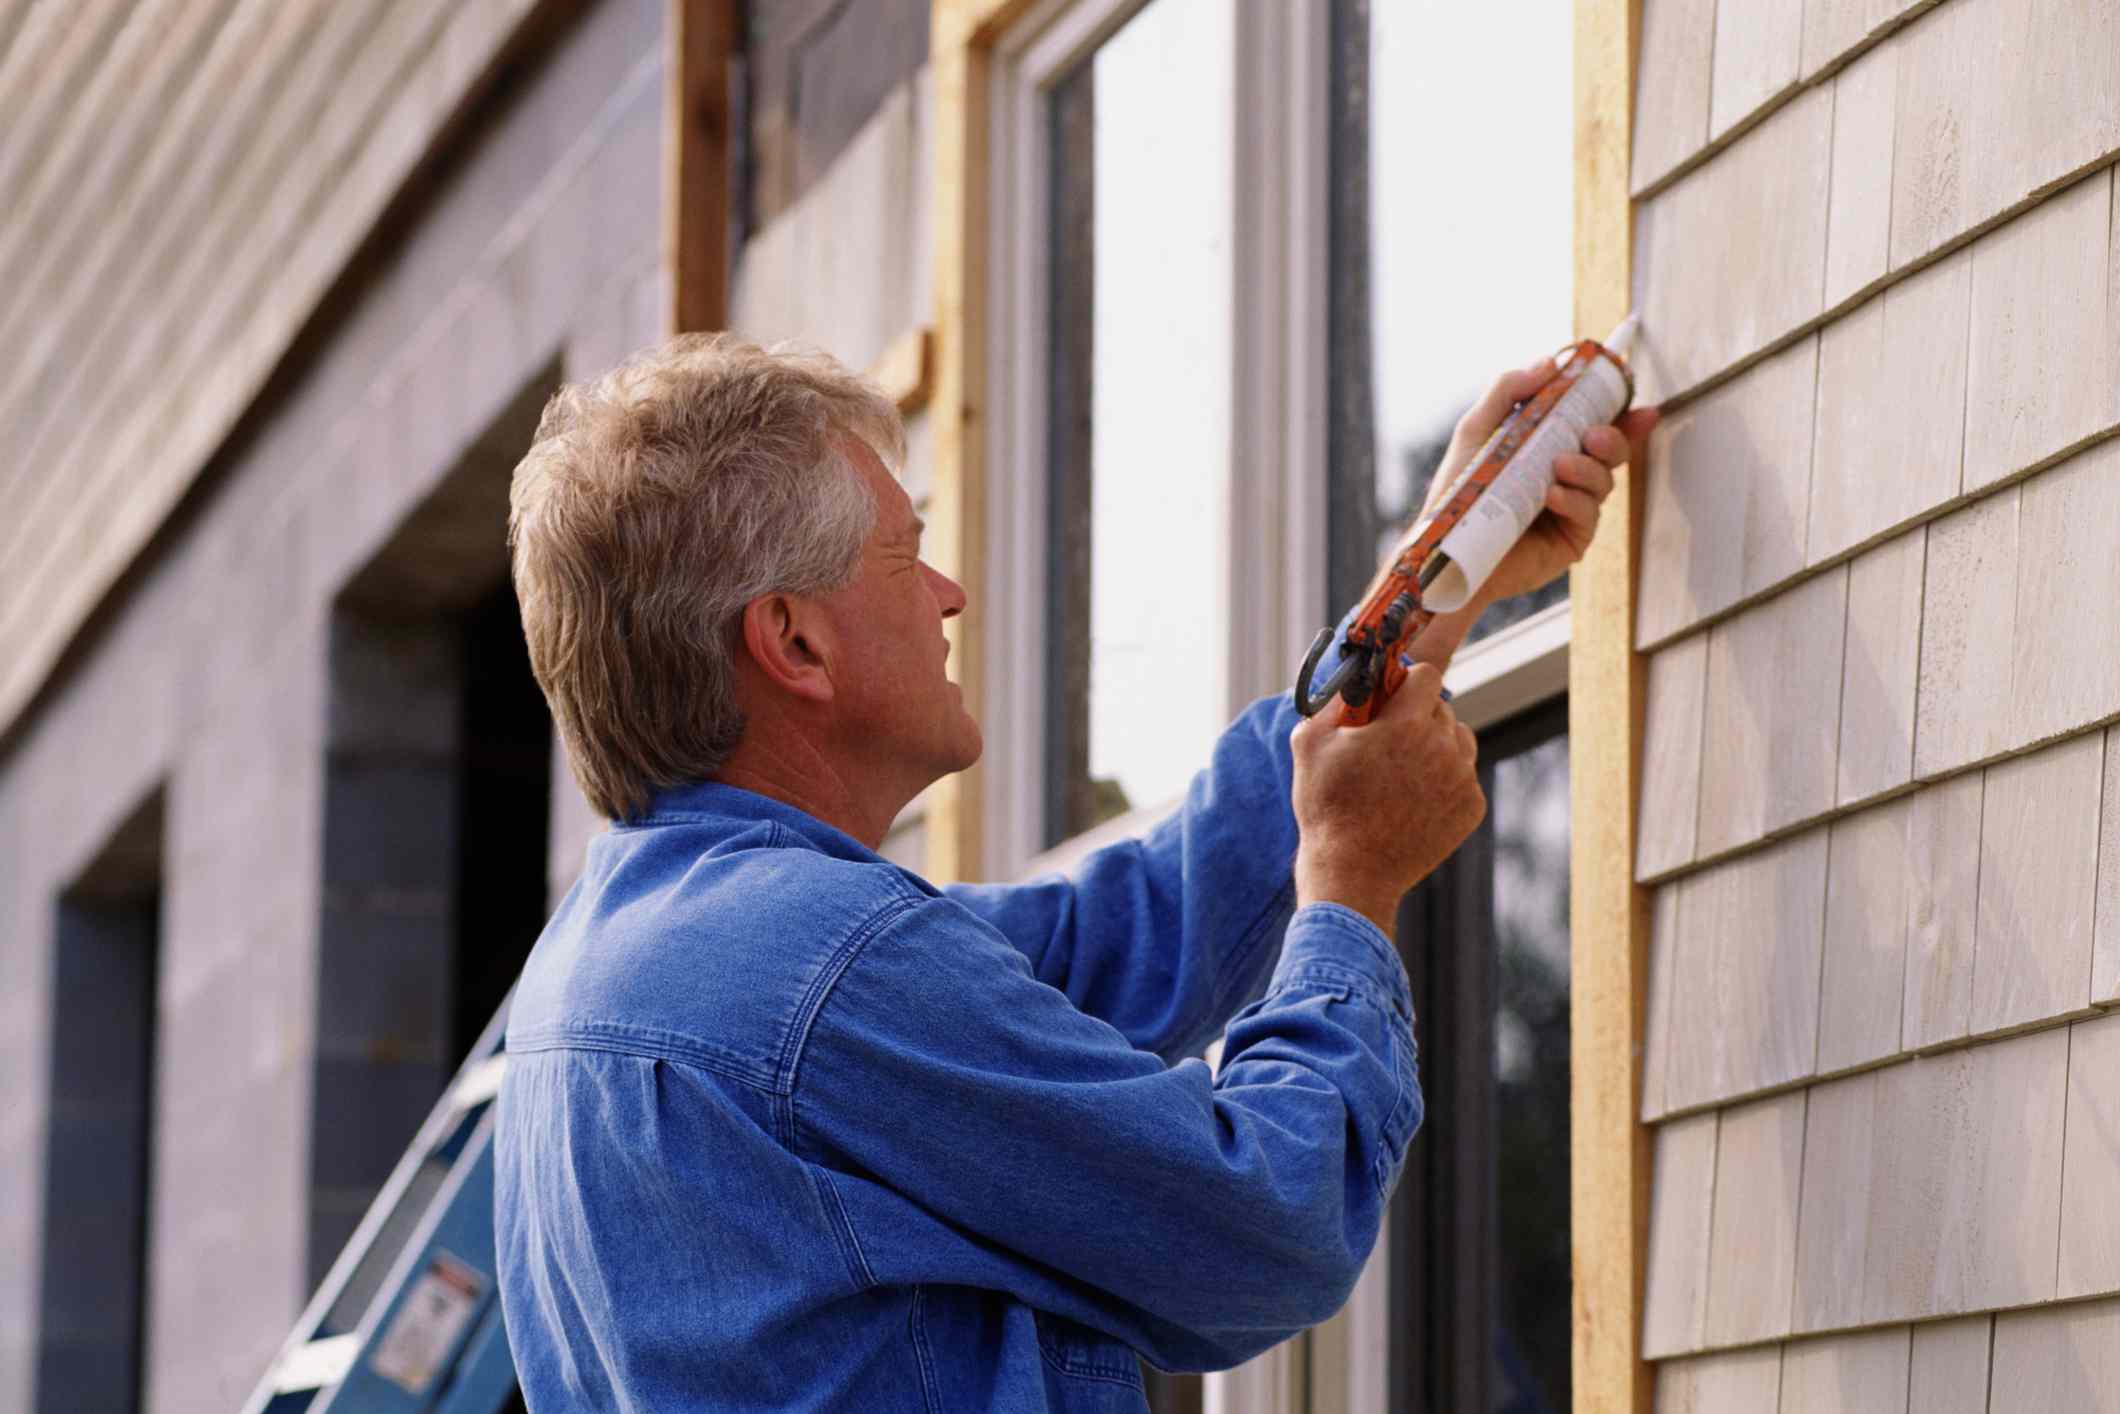
Step 2: Choose the right sealing material Use caulk for small cracks and gaps around trim or window frames. Expanding foam is ideal for larger gaps or spaces around plumbing and vents. Weatherstripping works well for doors and movable panels. Tip: Select materials that are compatible with wood and designed for exterior or interior use, depending on the gap location.
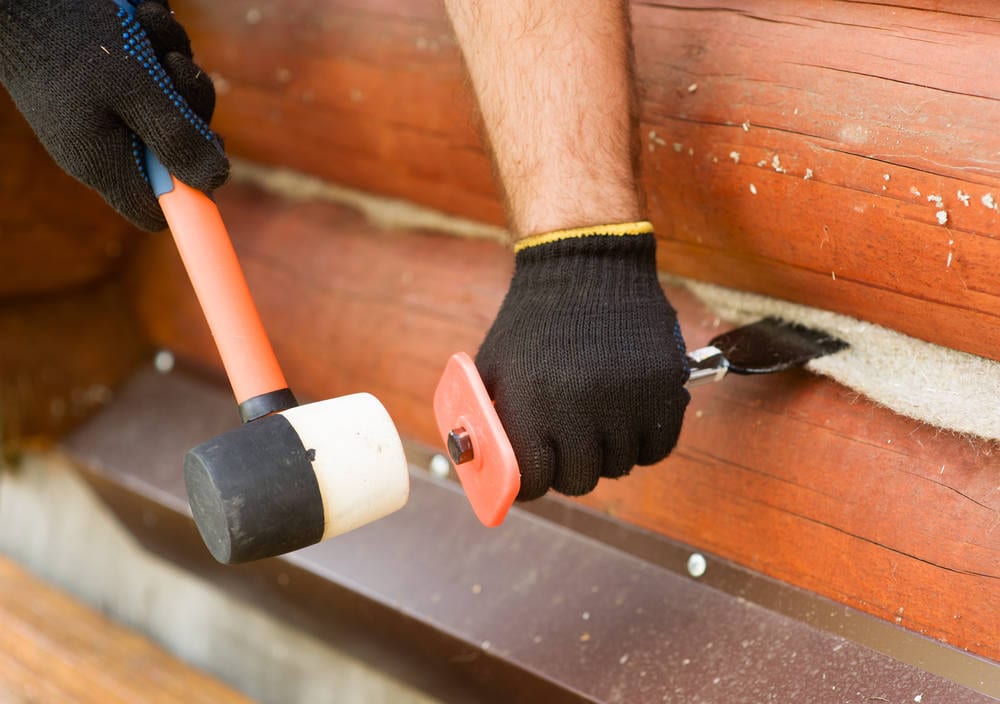
Step 3: Clean the surfaces before sealing Remove dust, debris, and old caulk from the area to ensure proper adhesion. Wipe the surface with a damp cloth and allow it to dry completely before applying the sealant. Tip: For stubborn old caulk, use a putty knife or caulk remover tool for best results.
Step 4: Apply sealant carefully Cut the nozzle of your caulk or foam tube at a 45-degree angle and apply evenly along the crack. Smooth the bead with a wet finger or caulk tool for a clean finish. Tip: Work in small sections to avoid the sealant drying before smoothing.
Step 5: Test and maintain After the sealant cures, test for drafts again and reapply if necessary. Regularly inspect previously sealed areas, especially after extreme weather or seasonal changes. Tip: Keep a maintenance schedule to check all major gaps at least once a year to maintain energy efficiency.
Cabin gap sealing checklist
- Inspect windows, doors, baseboards, and wall-to-roof/floor joints for gaps.
- Choose caulk, expanding foam, or weatherstripping based on gap size.
- Clean and dry surfaces before applying sealant.
- Apply sealant evenly and smooth for proper adhesion.
- Test for drafts and maintain sealed areas annually.
Sealing gaps in your cabin is a simple yet effective way to improve comfort and reduce energy costs. With regular inspection and maintenance, your cabin will stay cozy year-round.
Popular Articles
-
Home & Repair
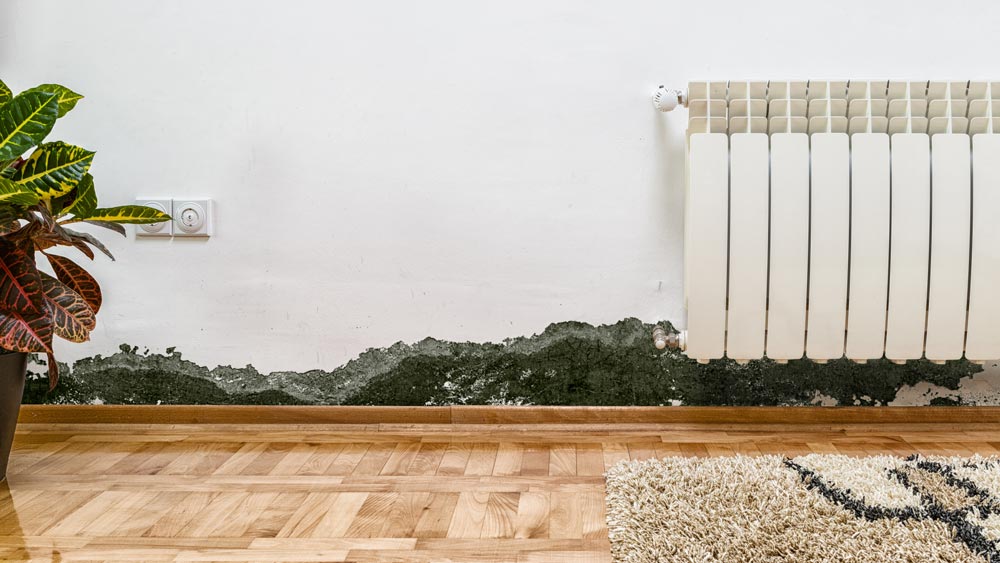
 5 Practical Tips to Prevent Dampness & Mold in Your CabinA cozy cabin can quickly become unpleasant if damp and mold take hold. These five practical tips help keep humidity under control and protect wood, finishes, and indoor air quality.
 -
Home & Repair
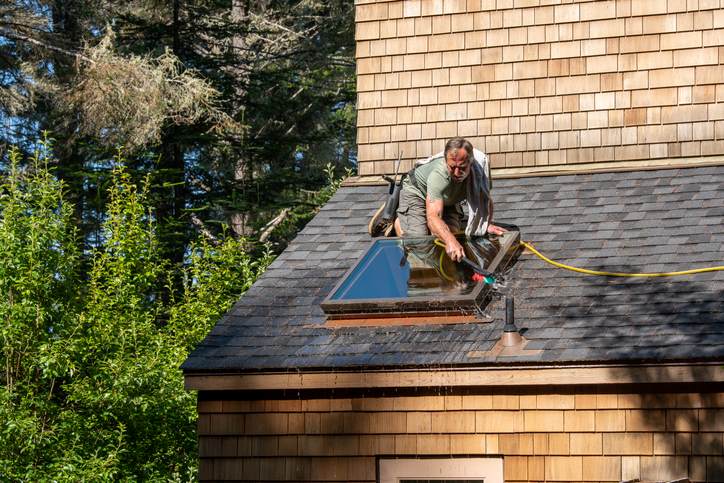
Spring Cabin Care: Window Cleaning, Roof Check & Yard Refresh TipsSpring is the perfect time to give your cabin a fresh start after the long winter. With a few simple maintenance tasks, you can brighten your living space, protect your structure, and make your outdoor area ready for warmer days. Here are some essential spring cleaning and maintenance tips for your cabin.
-
Home & Repair
Wood Cabin Maintenance Guide: Smart Tips to Extend the Life of Your TimberA wooden cabin has natural warmth and charm, but wood requires regular care to stay strong and beautiful. Proper maintenance helps prevent decay, cracks, and insect damage while keeping your cabin looking timeless. Here are some smart tips to extend the lifespan of your wooden structure.